
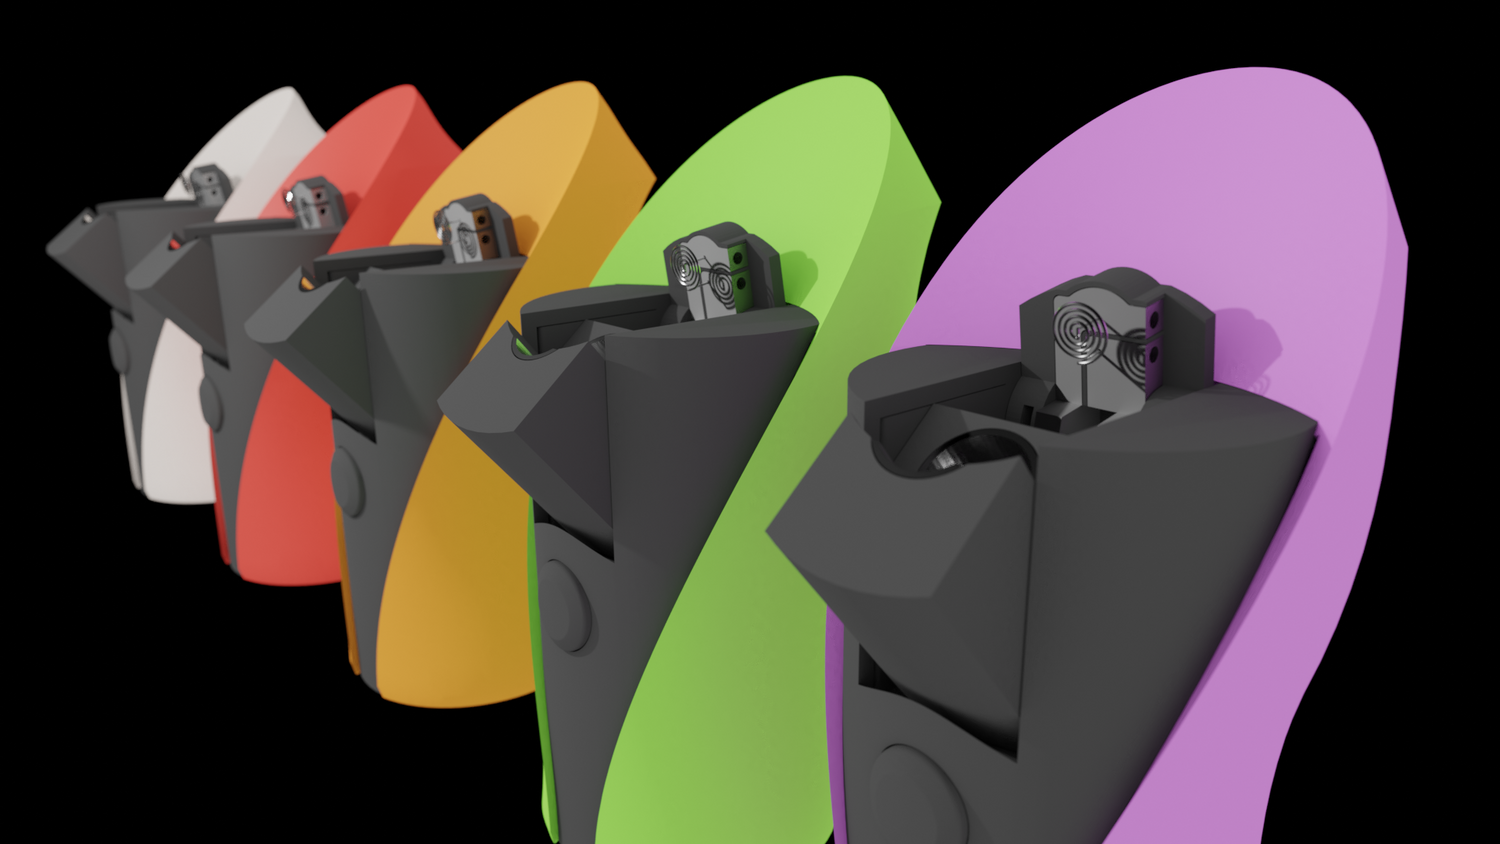
Getting Started
Coil installation and powering on
- Loosen both screws on the top door with a small Phillips or flat-head screwdriver (do not remove them, just loosen).
- Insert the coil, making sure the center post goes into the right terminal and the coil is seated properly.
- Gently tighten the screws to secure the coil (do not overtighten).
- Press the button 5 times to turn the device on.
- Once powered on, the Bubblr is ready to use.
- Load, Press and Enjoy
Each Bubblr is tested prior to shipping, but battery may need to be charged before your first puff.
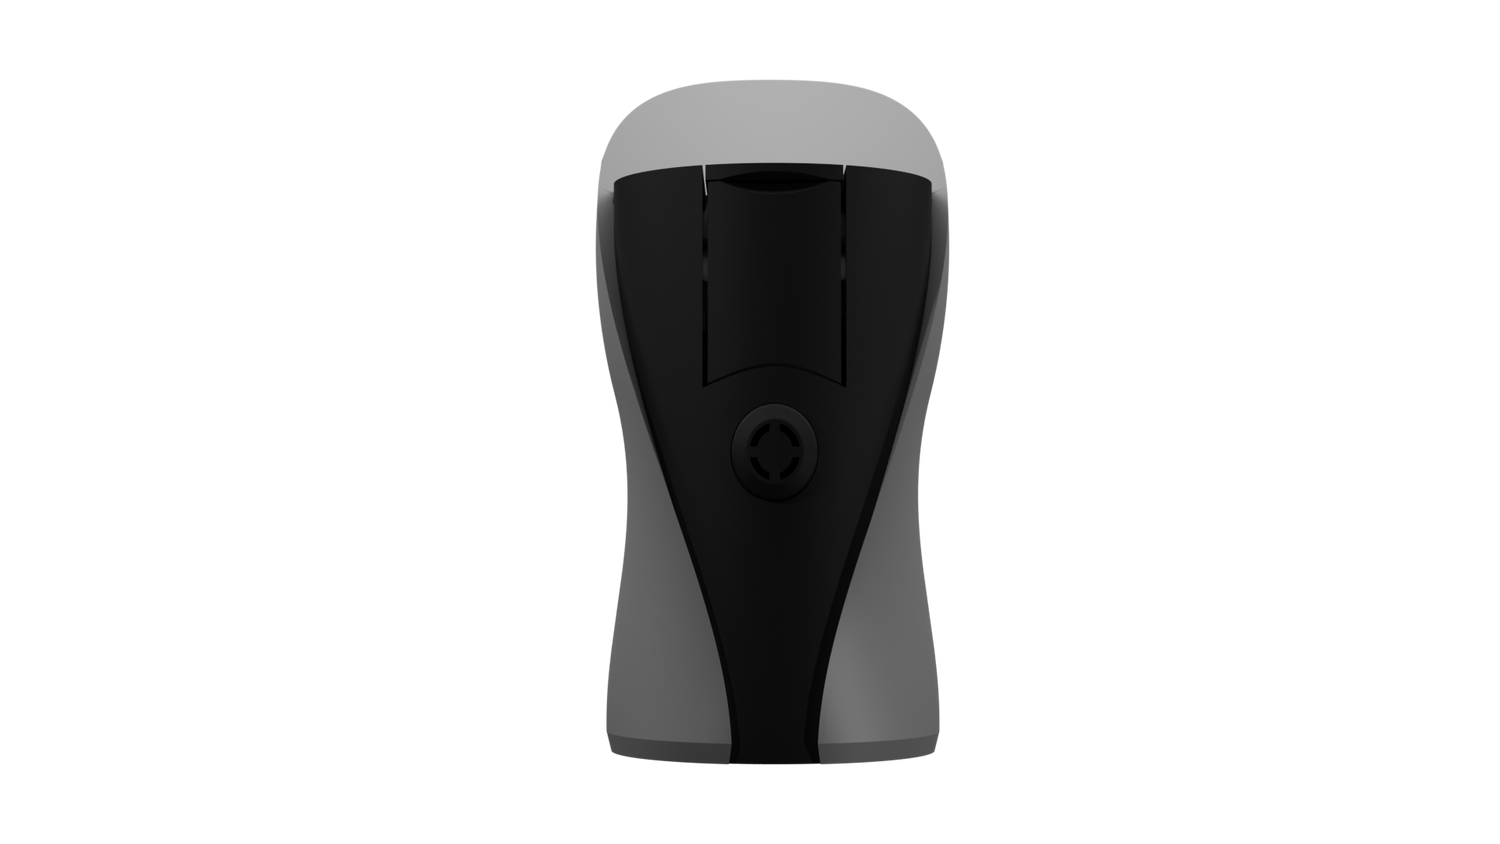
How -To
- Loosely fill the bowl to the top. Avoid packing too tightly, since airflow through the bowl is important for performance.
- Hold the button for roughly six seconds to begin heating.
- Watch for a visual cue that the device is ready—either visible smoke or the glow of the coil through the hole in the top door.
- While inhaling, keep the button held to maintain heat through the draw, then release it when the pull is complete.
- Repeat the process as needed until the bowl is finished.
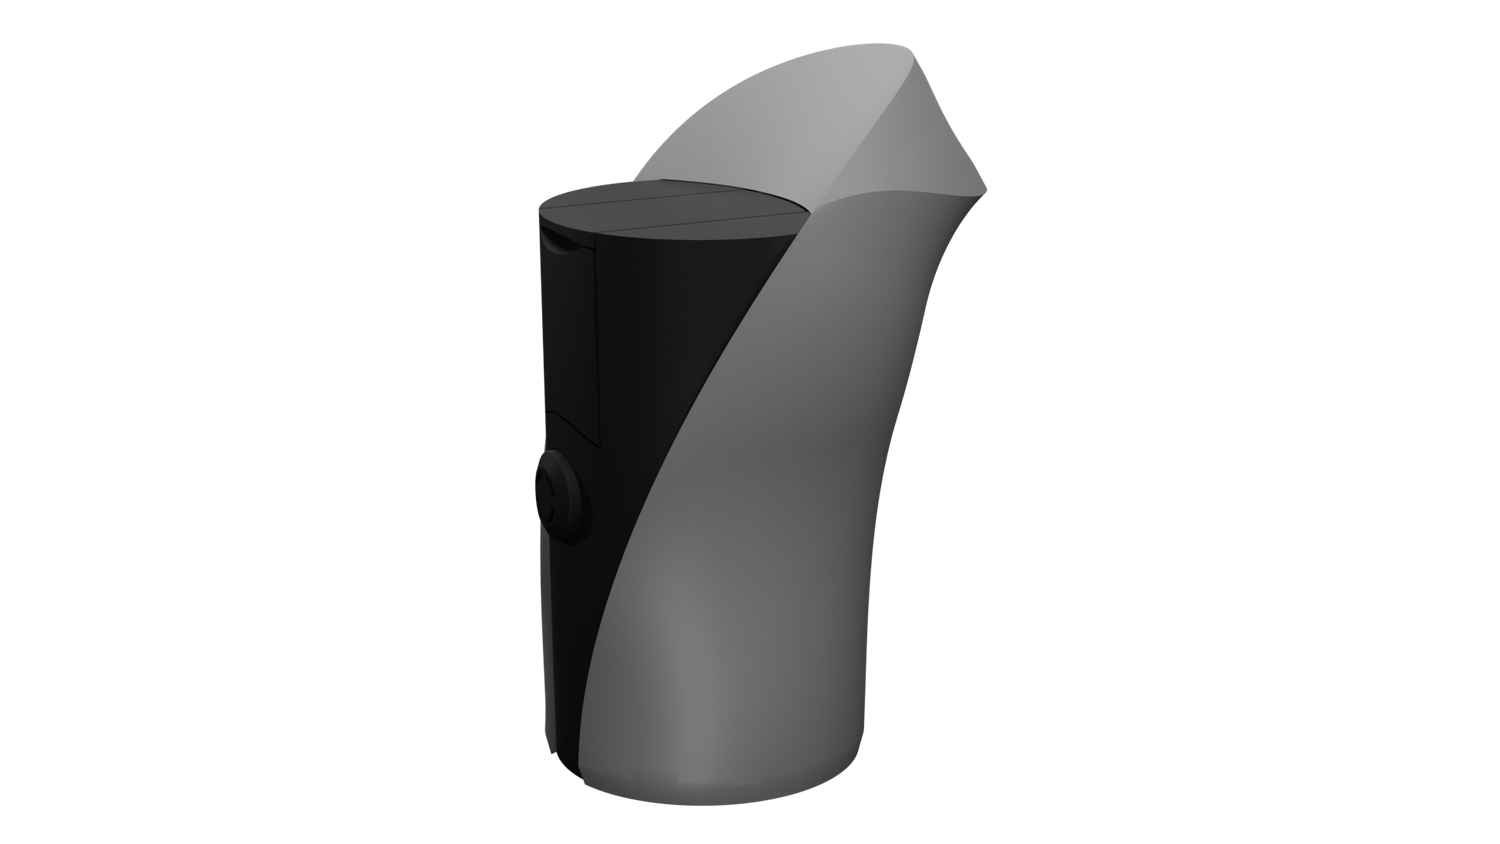
Cleaning & Care
- Remove the magnetic mouthpiece.
- Open and remove the bowl door.
- Remove the coil.
- Soak the bowl door and bowl in isopropyl alcohol.
- Add isopropyl alcohol and salt to the main chamber.
- Plug the downstem and mouthpiece openings and shake well.
- Use a cotton swab with isopropyl alcohol to clean the downstem, top door, bowl door, and bowl.
- Carefully rinse all parts with water (the Bubblr is sealed but not fully waterproof).
For best performance, clean the device regularly rather than waiting for heavy buildup.